You’ve probably twisted a screw into a plastic toy or plugged in earbuds that click snugly into their case. Hidden inside those parts is a secret hero called an insert. If you’ve wondered, “What exactly are inserts in injection molding, and why do factories love them?” you’re not alone. Inserts in injection molding are ready-made metal or plastic pieces—like nuts, pins, or contacts—placed into the mold before hot resin flows in. When the plastic cools, the insert is locked in place forever.
In this friendly guide, we’ll unpack how inserts fit into the wider world of injection molding of plastics, compare hand-loading versus automated loading, look at common insert shapes, and show how both prototype molding services and full-scale production molding use them to cut costs and boost part strength.
Inserts In Injection Molding: Add Metal When Plastic Is Excessive
A single insert can turn a flimsy screw boss into a durable thread, make a cable connector safe, or ground an electronic shell. Below, we’ll dive deeper, show real-world wins, and list quick design tips.
Strong Threads, Zero Stripping
Brass or stainless inserts handle repeated screw-in and screw-out cycles without the “crunch” you get in straight plastic.
Faster Assembly, Fewer Parts
Instead of gluing or riveting hardware later, inserts in injection molding trap metal during the shot—one press, job done.
Electric Paths and Heat Transfer
Current needs metal. Inserts carry power through a molded case or pull heat away from a motor wound in plastic injection molding parts.
How Insert Molding Works In Simple Steps
Hot plastic won’t melt steel, but it does wrap around it. First, an operator (or robot) sets the insert onto locator pins in the cavity. The mold closes, resin shoots around the insert, fills every nook, and cools. When the mold opens, the insert sits rock-solid in the finished part—no screws, no glue. Among all tricks in injection molding of plastics, this one slices assembly off the timeline while boosting durability.
Info: Cycle time jumps only a few seconds if a robot loads and inserts while the previous shot cools.
Common Insert Materials And Shapes
- Knurled brass bushings for strong threads
- Steel pins for shafts or pivot points
- Copper contacts for power jacks
- Aluminum heat sinks for LEDs
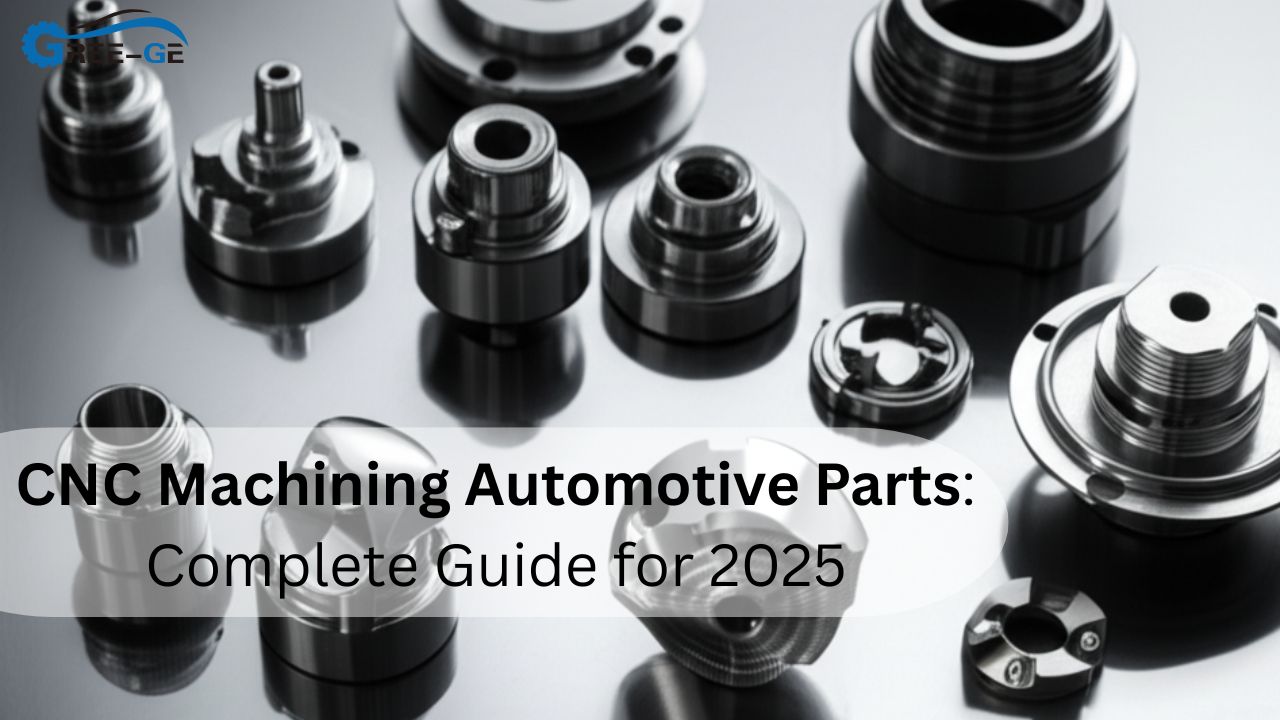
These shapes drop into the mold, but their outer walls usually sport ribs or barbs so molten plastic can “grab” tightly—key to reliable production molding.
Hand Load Vs. Automated Load
Hand-loading suits low-volume runs or prototype molding services. Operators place one insert at a time—cheap setup, but labor-heavy. Robots or bowl feeders shine when orders hit thousands per shift, keeping cycle times steady and operators free for QC checks.
Quick Tip: Color-code nests or use lasers to confirm insert presence; ejecting a part without the metal trapped inside means scrap.
Design Rules For Happy Insert Parts
- Wall thickness around the insert should be equal on all sides (2–3 mm) to prevent sink marks.
- Add draft (1°) so parts release easily.
- If the insert sits near an edge, keep at least one plastic wall thickness of clearance.
- Vent near deep inserts; trapped air makes burns in plastic injection molding.
Thermal Considerations
Inserts heat up slower than resin. If an insert is massive, it can suck heat from molten plastic and create voids. Pre-heat chunky inserts or slow injection to ensure solid bonding—especially vital when shifting from lab tests to real-speed production molding lines.
Suggestion: Use cartridge heaters or infrared lamps to warm big brass inserts 60 °C above room temperature for best fusion.
Bonding Mechanisms: Mechanical Vs. Chemical
Plastic grips metal mainly by mechanical keys (knurls, undercuts). Some resins, like polyamides, also form a chemical bond with plasma-cleaned brass, adding peel strength. Knowing the main bonding method keeps prototype molding services from over-engineering the insert geometry.
| Insert Surface | Bond Type | Typical Pull-Out Strength |
| Smooth | Low mech. | 50–100 N |
| Knurled | High mech. | 200–400 N |
| Plasma-etched | Chem + mech | 250–500 N |
Cost Impact—When Is The Extra Metal Worth It?
A brass insert may cost $0.03, but skipping it can mean stripped threads in service calls. In consumer toys, self-tapping screws in bare plastic work fine. In an appliance that sees daily screw access, inserts in injection molding pay for themselves after the first warranty claim avoided.
Fact: Warranty data shows threaded failures drop 90 % when parts switch to molded-in brass inserts.
Insert Molding Vs. Heat-Staked Inserts
You can mold the insert in place or press it into a pre-molded boss later using ultrasonic or heat staking. Post-staking saves mold complexity but adds a secondary step. For parts flooding from high-speed production molding, in-mold insertion cuts total cycle time and trims labor cost.
Warnings: Heat-staking after molding can warp thin housings; check flatness before final assembly.
Quality Control And Inspection
Critical inserts often hide inside plastic. X-ray CT scanners verify position without cutting parts, although pull-out testing each lot is cheaper. A simple thread-gauge go/no-go also finds tilted inserts early—must-do for any ISO-certified plastic injection molding shop.
When Inserts Aren’t The Answer
Ultra-thin walls, clear lenses, or parts that slide against skin may reject inserts due to flow lines or weight. In those cases, glue, over-molding, or clever snap-fits win. The rule: let function drive design, not habit. Prototype molding services help prove whether an insert or a redesign gives cleaner parts.
Danger: Never bury shingles of sharp metal where users grip—flash or burrs cut fingers even through thin plastic skins.
Table: Quick Guide To Insert Choices
| Use-Case | Best Insert Type | Ideal Resin Partner | Automation Fit |
| Reusable threads | Brass knurled nut | ABS, PC | Bowl feeder |
| Rotating hinge | Polished steel pin | Nylon | Robot arm |
| Power connector | Tin-plated copper lug | PC/ABS blend | Hand load |
| Heat spreader for LEDs | Aluminum slug | PMMA lens resin | Robot + heater |
| Sensor embed | Stainless tube | PP medical grade | Hand load |
Conclusion
Now you know that inserts in injection molding are simply pre-made bits—often metal—that lock into plastic during the shot to add threads, strength, or electrical paths. They bridge the gap between pure polymer parts and assemblies stuffed with screws or glue. By weighing insert cost, bonding rules, loading method, and resin choice, you can craft parts that stand up to daily abuse and speed straight from prototype molding services to streamlined production molding. Keep these guidelines handy, and your next plastic injection molding project will click—literally—into place.
FAQs
Do inserts slow down cycle time a lot?
Hand-loaded inserts add seconds; robotic loaders keep cycles nearly unchanged.
Can I use aluminum inserts instead of brass?
Yes, but aluminum is softer. Use deeper knurls to maintain pull-out strength.
What resins bond best to metal inserts?
Nylon and PPS create strong chemical bonds; ABS relies mainly on mechanical grip.
Are inserts only for threads?
No. They can be pins, heat sinks, electrical contacts, or even magnets.
How do I test insert strength?
Perform pull-out or torque tests on sample parts in each lot to ensure bond integrity.

