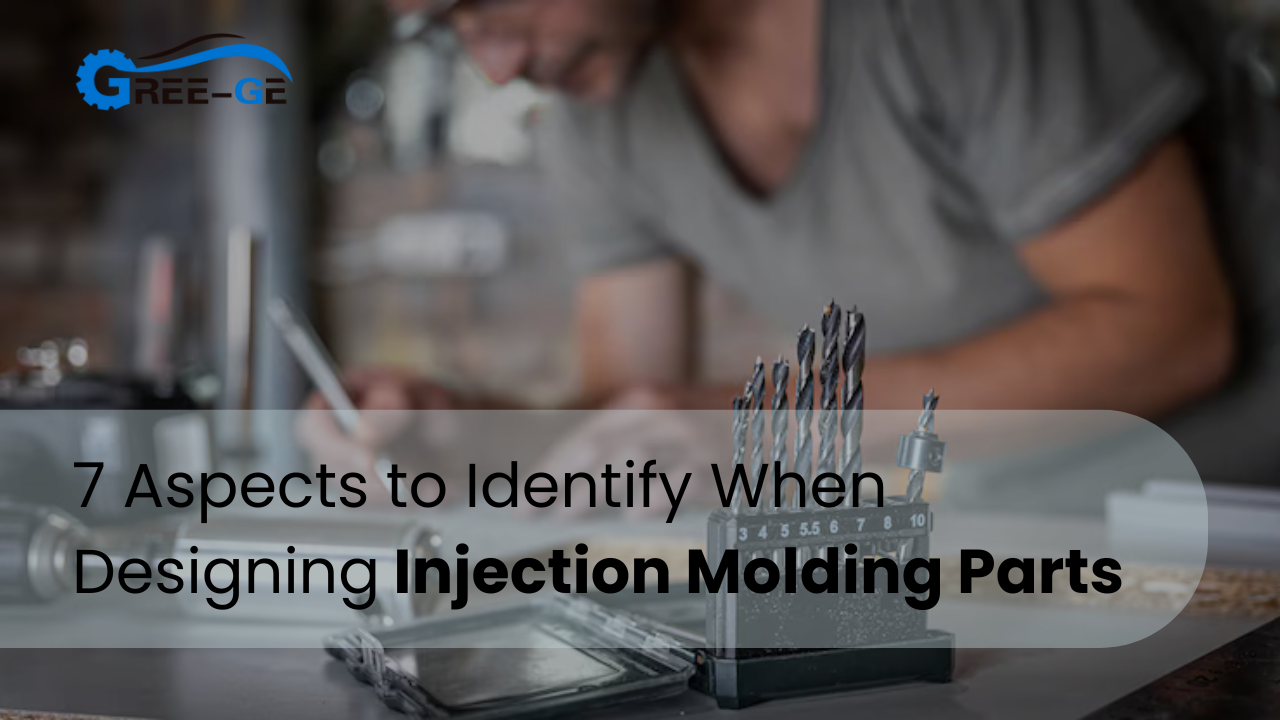
Ever tried baking a cake that sticks to the pan no matter how much butter you slather on? Designing injection molding parts feels the same—only the “cake” is molten plastic and the pan is a steel mold that costs more than a sports car. One wrong design choice and you’re prying pieces out with a crowbar, shedding tears (and dollars) in the process.
The shortcut is simple: nail seven make-or-break details—wall thickness, draft, ribs, bosses, gates, tolerances, and surface finish—before you cut steel. Do that and your injection molding parts pop out clean, fast, and ready to impress.
In this guide, I’ll walk you through each design checkpoint like a friendly shop-floor buddy. We’ll peek at flow tricks, speed bumps to dodge, and quick wins that turn “meh” molds into marvels. Ready to stir the plastic soup? Let’s go!
Injection Molding Parts: Know The Ground Rules
Designing for plastic isn’t an afterthought—it’s the map you follow long before the machine warms up. First, remember plastic flows like warm syrup; it hates sharp corners and loves consistent paths. Second, the mold itself is a rigid referee that rewards even wall sections and punishes thick blobs with sink marks. Third, the clock is unforgiving: every extra second per shot can balloon your budget. Treat these three truths as commandments and you’ll unlock high quality injection molding results without frantic do-overs.
Material Flows Like Honey
Picture honey racing through a maze. It slows at tight turns and dams up in dead ends. Plastic does the same. Smooth transitions and gentle radii keep the stream happy, lowering pressure and scrap. Ignore this rule and you’ll nurse short shots and flash.
Wall Thickness Is The Golden Rule
Walls that are too thick trap heat, leading to sink, warp, and glacial cycle times. Too thin and you get brittle, paper-thin parts. Aim for a Goldilocks zone—usually 2–3 mm for commodity resins. This sweet spot balances flow, cooling, and strength and embodies smart design for injection molding.
Draft Is Your Best Friend
Draft—the slight taper that helps parts exit the mold—sounds boring until you forget it. Then ejection pins dent your pride (and parts). A 1–2° draft per side is a trusty baseline. Bump it up for textured surfaces. It costs nothing in CAD, saves fortunes in polishing.
Optimize Wall Thickness For Flow & Strength
Uniform walls are the cheapest insurance policy in the plastics universe. Think of them as roads with identical speed limits; the melt cruises without traffic jams. Varying thickness forces plastic to sprint then stall, creating internal stresses and sink marks that show up like dimples on fresh clay. When different wall sizes are unavoidable, step them down gradually—no cliff edges. Pair this with ribs for extra muscle instead of bulking walls. Following this rule is the backbone of Precision Plastic injection molding—where microscopes hunt flaws and can’t find them.
Quick Tip: Aim for ±10 % variation max across the part.
Respect Draft Angles Early
You wouldn’t wear shoes two sizes small; don’t force parts to squeeze out of zero-draft molds. Add taper while you’re still sketching. A good mantra is “1° per inch of depth.” Go steeper for sticky materials like TPEs. Polished surfaces forgive tighter angles, but textured areas need more breathing room. Draft also doubles as a cosmetic hero—reducing drag lines that can dull glossy finishes.
Info: Even a 0.5° increase can shave milliseconds off every cycle, multiplying savings across thousands of shots.
Use Ribs And Bosses To Reinforce Without Bulk
Ribs are the skeleton; bosses are the joints. Together they grant strength without bodybuilding the wall. Keep rib thickness at 60 % of the adjoining wall to dodge sink. Space them at least twice their thickness apart to avoid “read-through” shadows. For bosses, fillet the base and add support ribs if the screw load is heavy. Smart rib-boss combos deliver high quality injection molding with zero cosmetic blemishes.
Fact: Lightweight ribs can raise stiffness by up to 40 % versus a solid wall—and your accountant will love the material savings.
Gate Placement Makes Or Breaks Flow
The gate is the front door for molten plastic. Put it in the wrong neighborhood and fill patterns get weird—weld lines, air traps, hesitations. Center-gate circular parts, edge-gate long shells, and tab-gate thin sheets. Always aim to fill thicker areas first so the melt finishes thin sections last, equalizing pressure. Gating strategy is pivotal for low volume injection molding, where tweaks happen fast and tooling changes hurt.
Suggestion: Add a second, balanced gate instead of cranking pressure when parts are large.
Tackle Tolerances With Realistic Expectations
Plastic moves as it cools; steel doesn’t. That thermal mismatch can turn tight CAD dims into wishful thinking. Default to ±0.1 mm for critical features, widening to ±0.25 mm elsewhere unless you’re in Precision Plastic injection molding territory. Shrink rates vary by resin, so consult the datasheet rather than your gut. Coordinate with your molder early—tolerances agreed on paper beat surprises at the measuring table.
Warnings: Pushing below ±0.05 mm without process control is like playing darts blindfolded.
Mind The Core-Cavity Shutoff
Any place where core steel meets cavity steel becomes a leak path for flash if the fit isn’t perfect. Design generous shutoff angles—3° or more—so tooling wears gracefully without letting plastic escape. Keep distances short; long thin lands act like feeler gauges and wear out. Add radii to soften the steel meeting point. Mastering shutoffs is central to design for injection molding because it marries cosmetic needs with mold life. Danger Box Ignoring shutoff angles can slash mold life from a million shots to a few thousand.
Plan For Textures And Finishes
Leather-grain dashboards and glossy toys need different mold prep. Textures trap air and boost friction, demanding extra draft—up to 3° for deep grains. High-gloss finishes need mirror-polished steel, free of EDM pits. Add parting lines in inconspicuous spots so cleanup blends in. Early finish decisions save re-polishing headaches and underpin high quality injection molding aesthetics. Info Box A Class A surface can add 20 % to tool cost—budget it before the bills arrive.
Address Undercuts With Smart Side Actions
Undercuts lock parts to the mold like barbs on a fishing hook. You can delete them, shift them, or tame them with lifters, slides, or hand-loads. Each adds time and dollars, so weigh value versus complexity. In low volume injection molding, hand-loads often win because cycle time matters less than tool simplicity. For mass production, automated slides pay back quickly. Sketch clearance pockets early to keep mechanisms compact.
Quick Tip: A tiny design tweak that removes one slide can slash tooling cost by thousands.
Design For Assembly Up Front
Parts rarely live alone. Add alignment features, snap-fits, or weld bosses so molded components click together like LEGO. Uniform snap arm thickness avoids breakage; analyze flex line stresses with a simple FEA or even a paper mock-up. Designing assembly in CAD trims secondary steps and showcases design for injection molding mastery. Success Box A snap-fit that assembles in under two seconds can outshine screws, glue, and headaches.
Table – Draft Angle Cheat Sheet
| Surface Type | Recommended Draft | Notes |
|---|---|---|
| High Polish (SPI A-2) | 1° | Add 0.5° per extra inch depth |
| Light Texture (MT-11010) | 2° | Boost to 3° if ribs are deep |
| Heavy Texture (MT-15000) | 3–5° | Critical for clean ejection |
Conclusion
Designing injection molding parts isn’t witchcraft; it’s a checklist. Keep walls even, add draft, lean on ribs, gate smart, set sane tolerances, respect shutoffs, and plan finishes early. Master these seven aspects and you’ll glide from CAD to production with fewer prototypes, less scrap, and happier accountants. Remember, every tweak in pixels is ten times cheaper than grinding hardened steel. So bookmark this guide, chat with your molder, and let your next batch of injection molding parts roll off the press flawless and fast.
FAQ
Why is uniform wall thickness important?
Even walls cool evenly, preventing sink marks and warping, so your part keeps its intended shape.
How much draft angle is enough?
A baseline of 1–2° per side works for most plastics; add more for textured surfaces or deep cavities.
Can i combine multiple materials in one mold?
Yes, with over-molding or two-shot molding, but design must accommodate separate flow paths and cooling rates.
What’s the best way to reduce tooling cost?
Simplify geometry, avoid undercuts, and choose standard mold bases; fewer slides mean cheaper, faster tools.
How accurate are injection-molded dimensions?
Typical tolerances are ±0.1 mm, though specialty processes can push tighter when necessary.
Is 3d Printing A Good Substitute For Low Runs?
It can be, but low volume injection molding often delivers better mechanical properties and surface finish.